Anime poser - How to draw anime characters
Anime characters, we all love them! They can be crazy and out there or pared back and simple. About the only thing that anime characters have in common is that they are all pretty darn awesome and are super fun to look at.
Here we’ll be going through some tips that you can use to nail your next anime character design!
Step 1 - Get the Anime Pose Right
When you’re designing an anime character, you’re trying to convey that character and their essence in a single picture or character sheet. Even within the genre of anime there are still so many style variants, so take some time to research your style. Try Pinterest or doing some style tests. You might not get the pose right the first time, so give yourself permission to play. The pose you select becomes super important, because that will allow you to translate a lot who that character is and what they do.
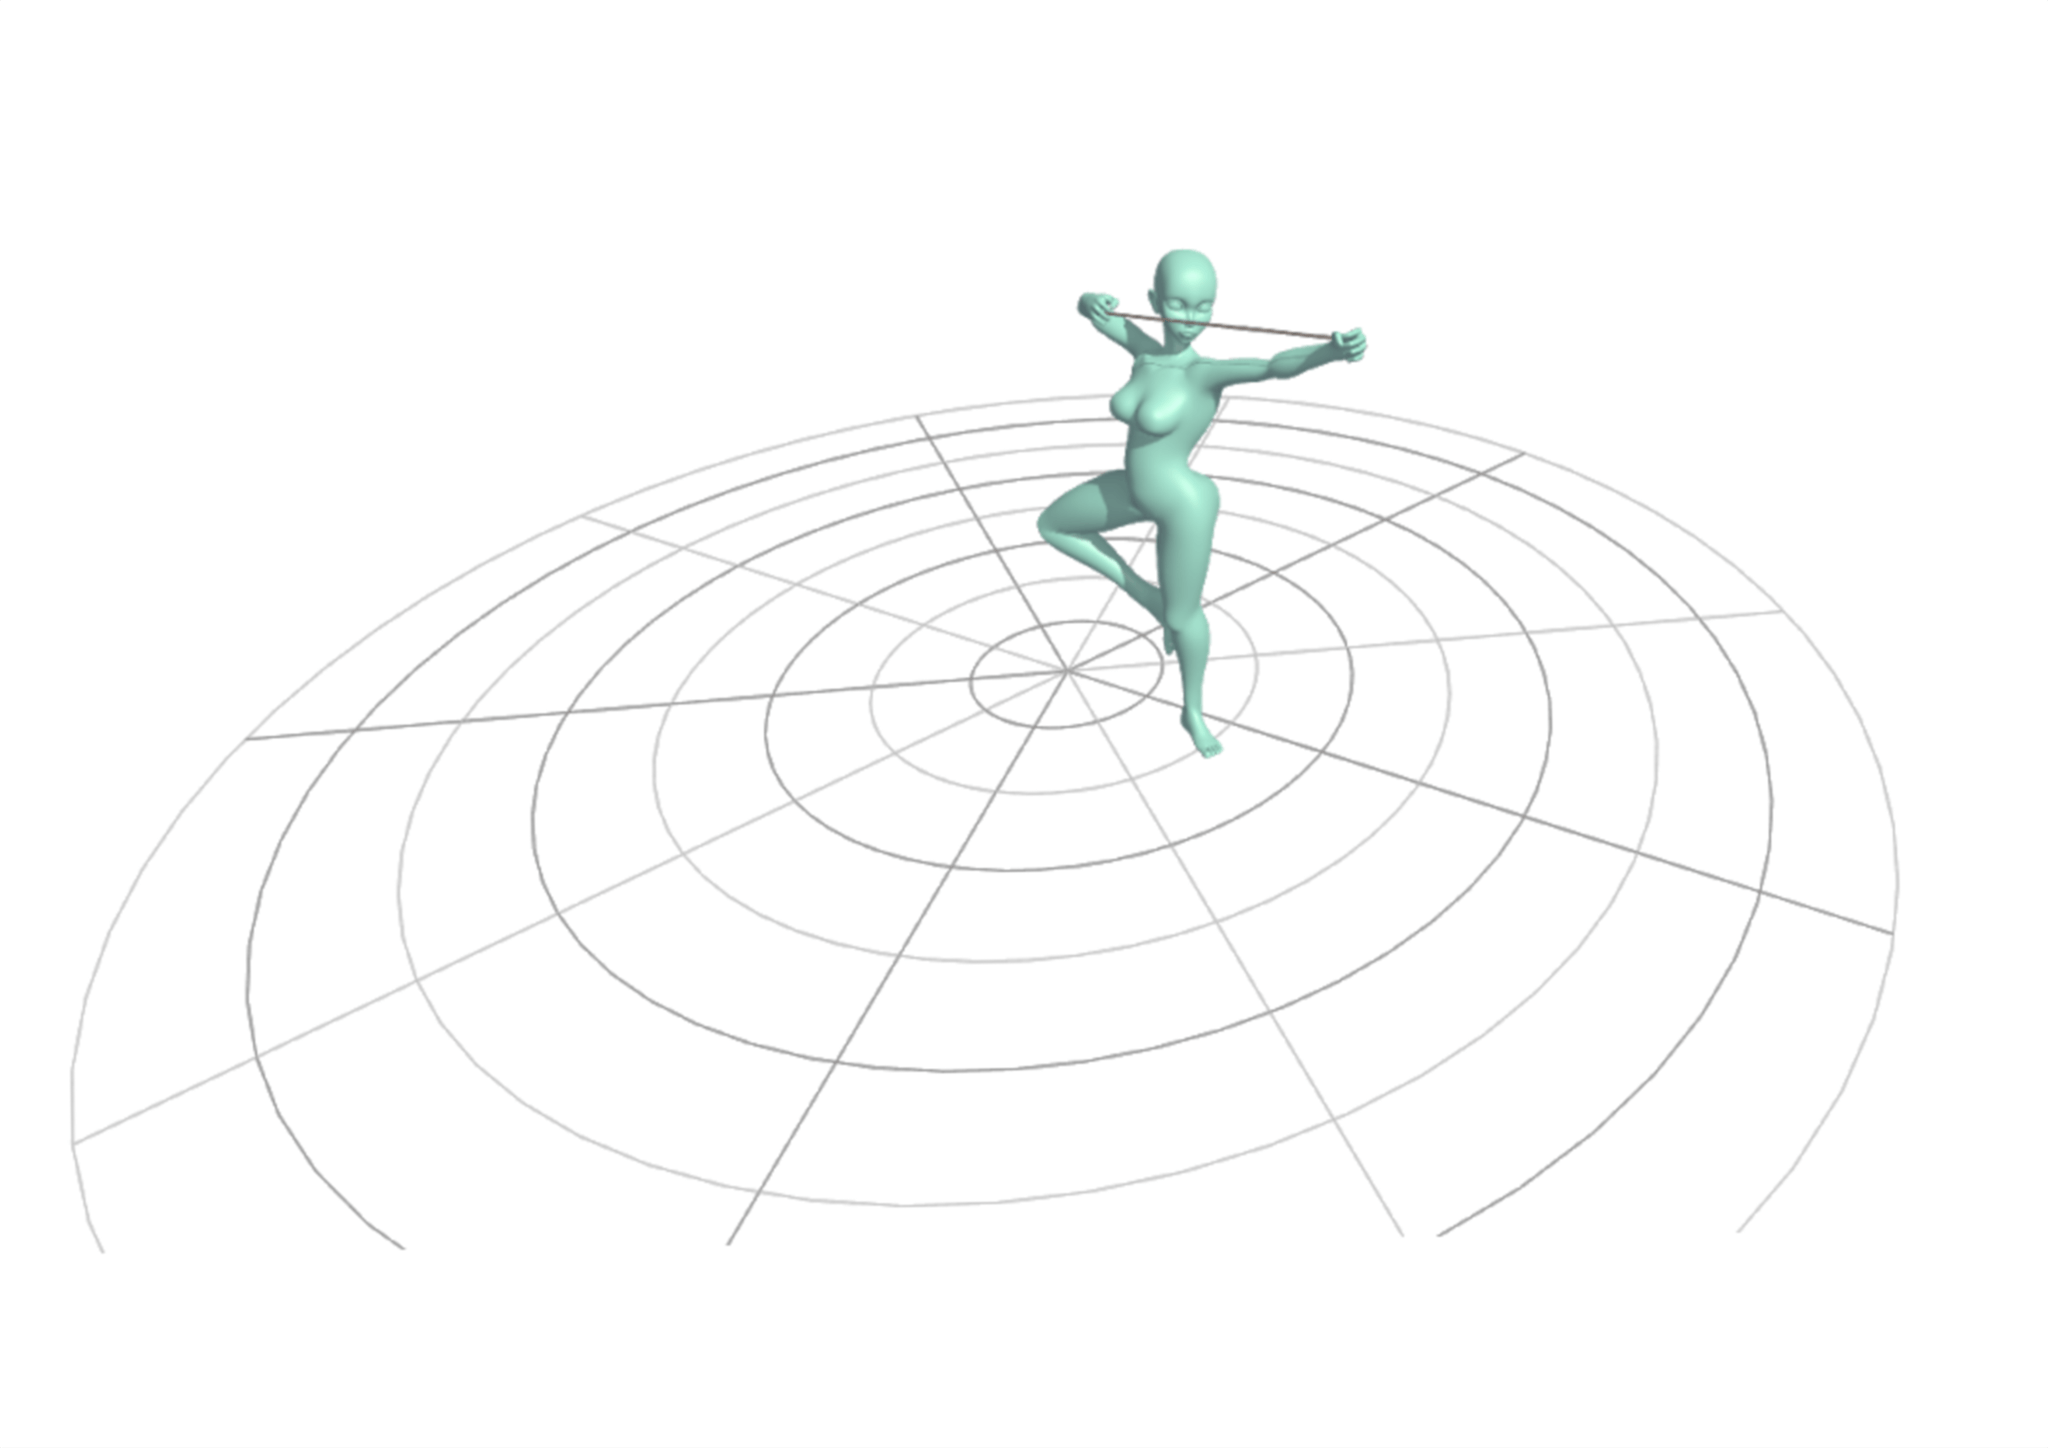
Use JustSketchMe to set up a pose, a shot angle to make it more dynamic, and play around with the Field of View slider to warp it according to different camera lenses.
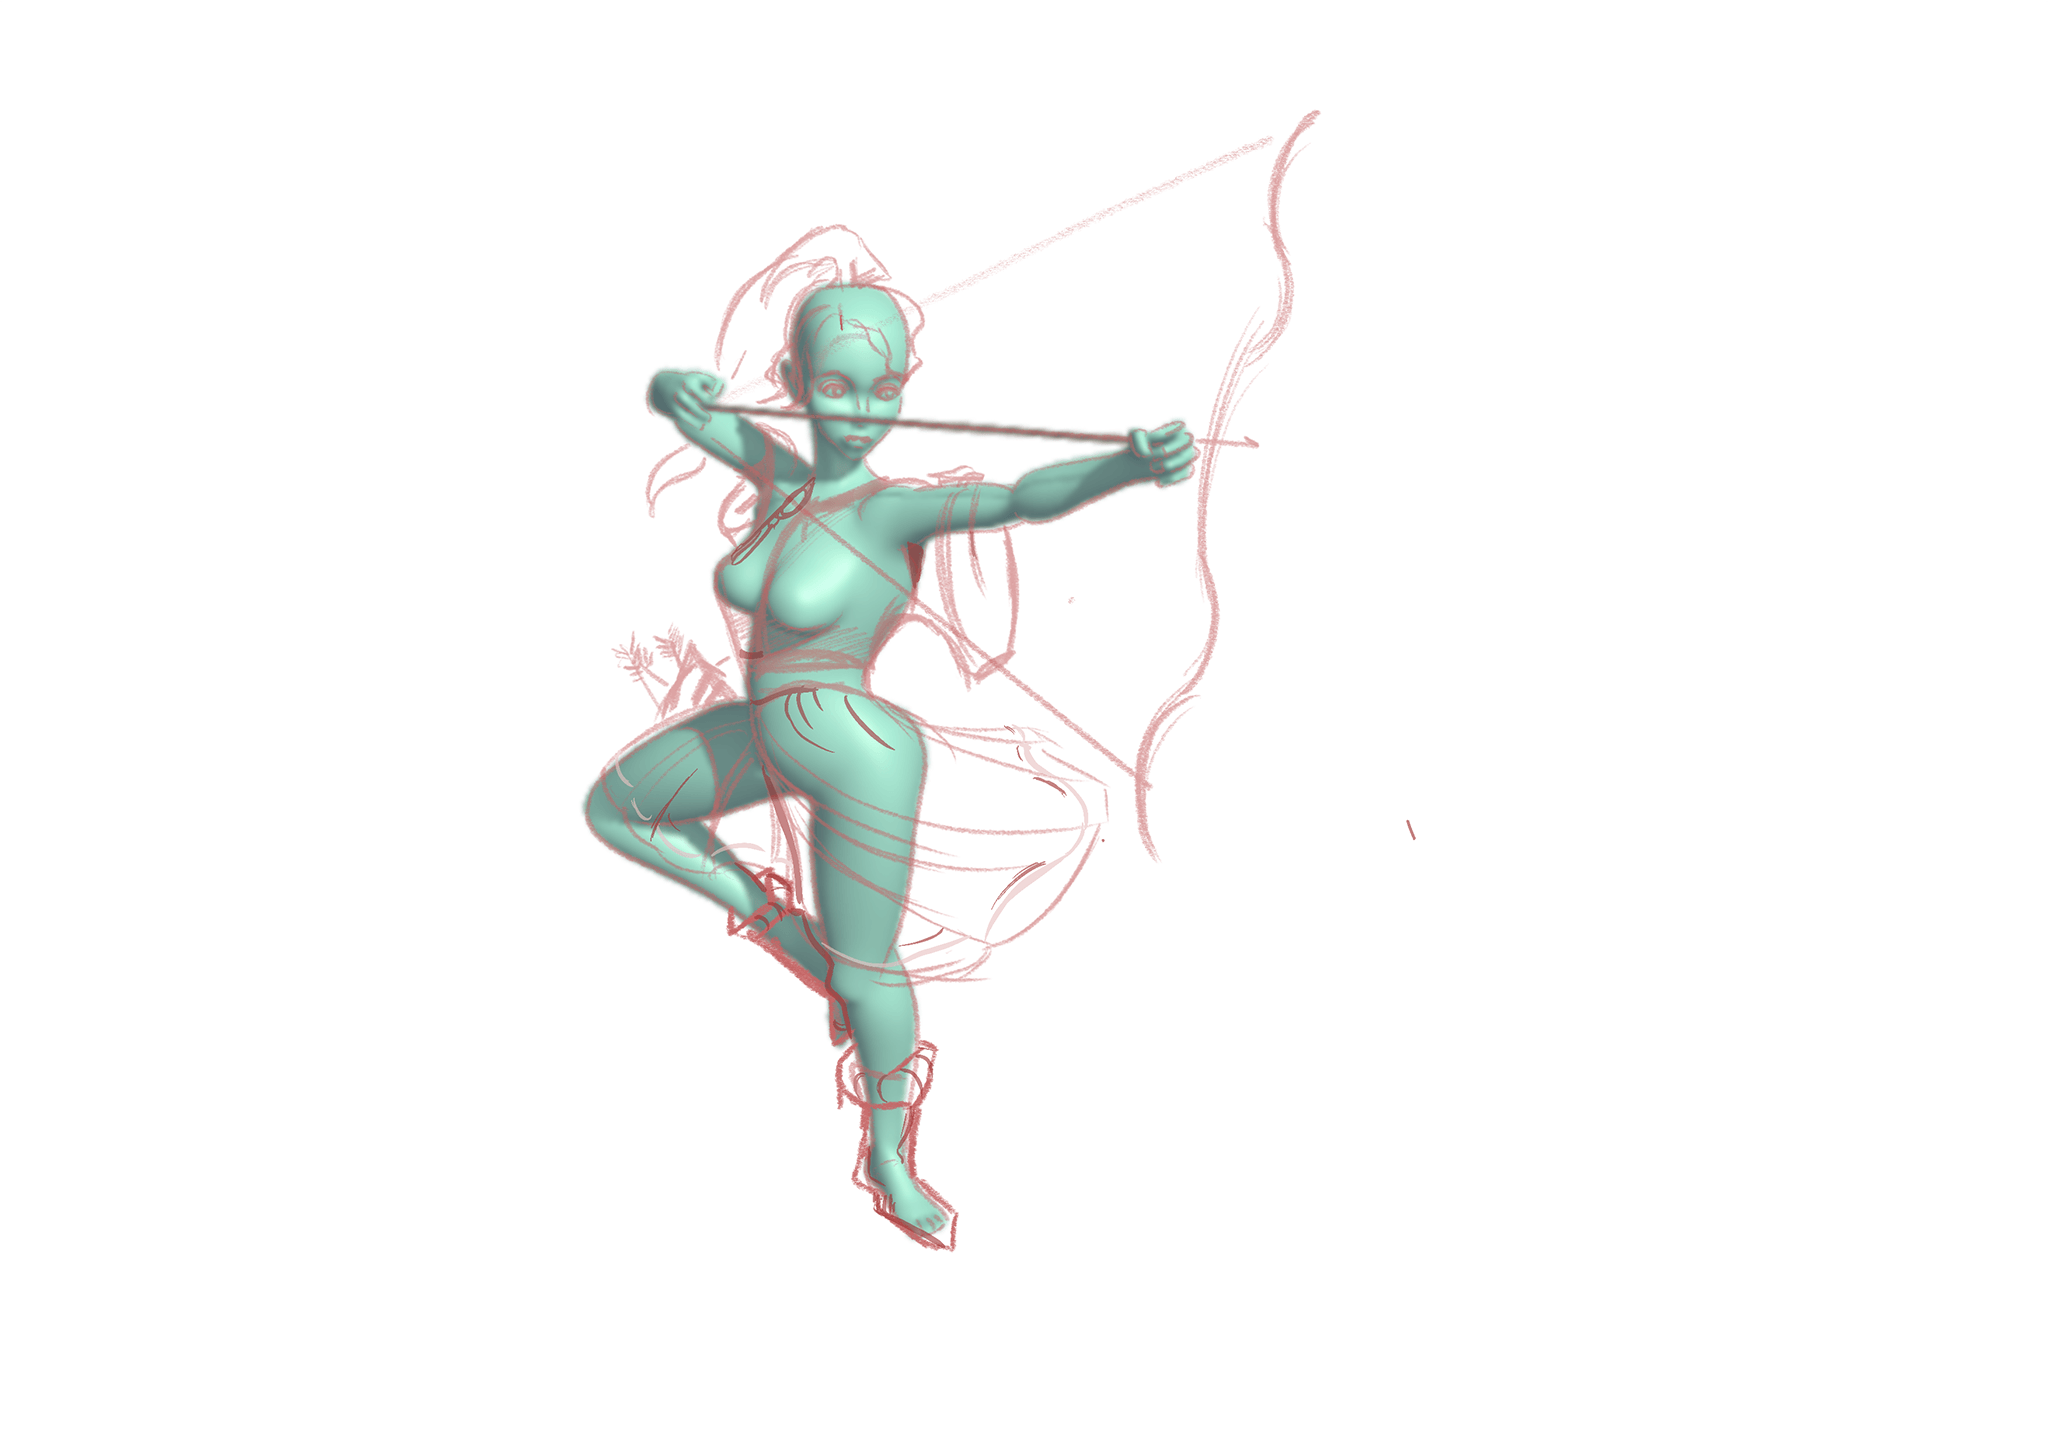
An undersketch helps you to get a sense of where the overall forms will appear
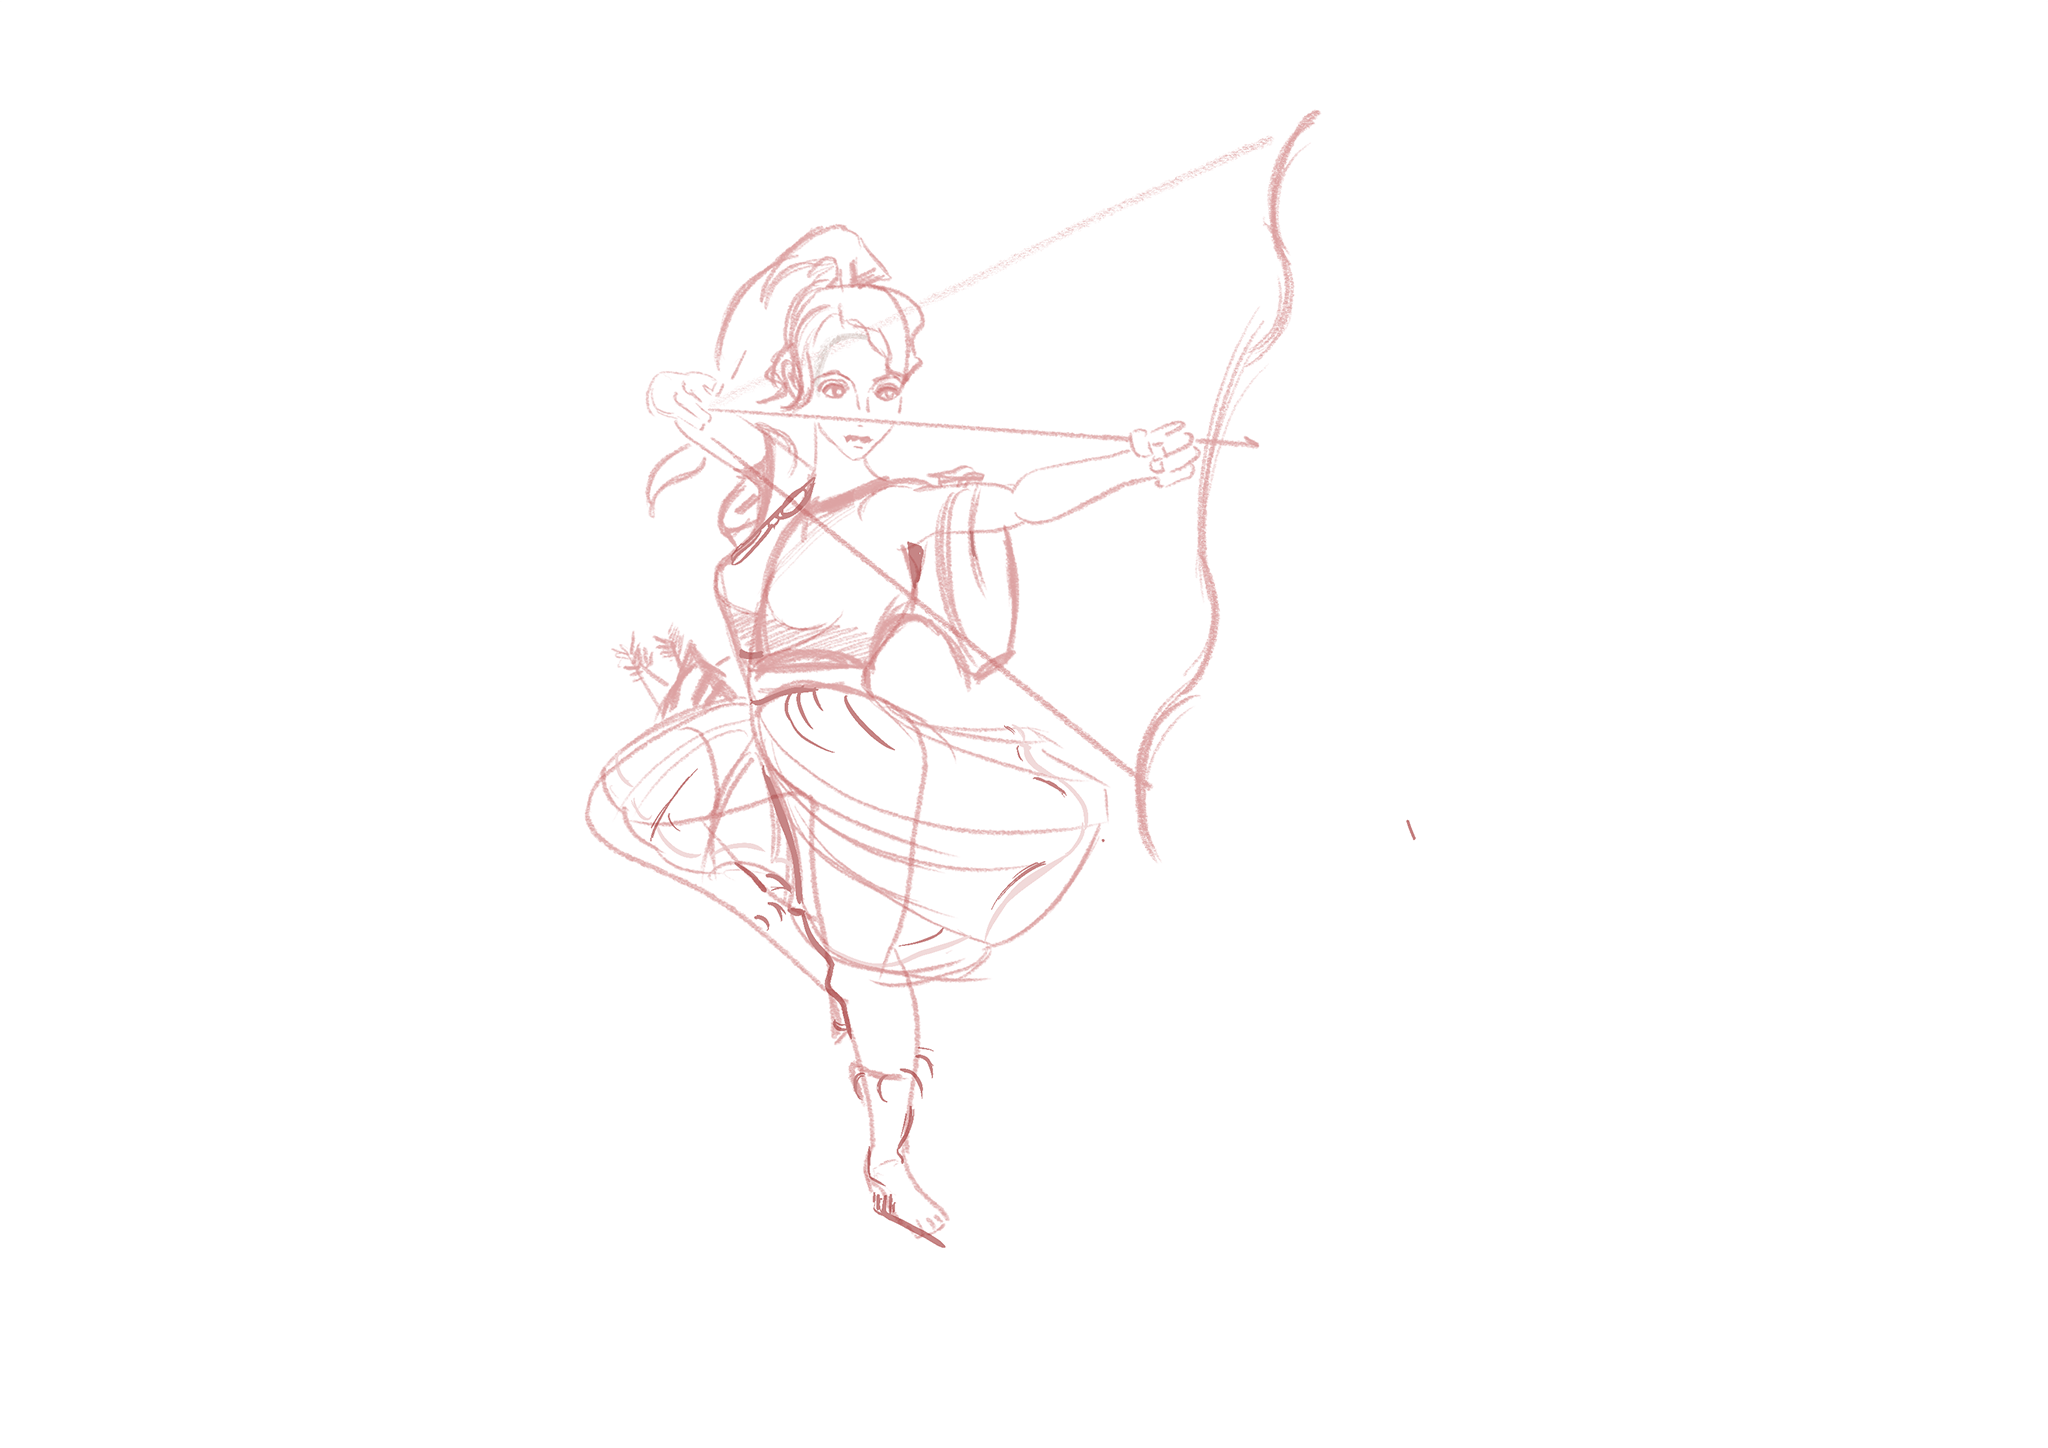
Finalising details such as the face, hair and clothes might take some time - but persevere!
Use JustSketchMe to nail your pose, and take considerable care to ensure that your character is set up exactly how you imagine it. If your anime character is a warrior, make sure that that is evident from their pose alone.This can be done with the help of a fighting stance or an outstretched hand ready for battle. If they are a shy schoolgirl, try slumping their shoulders a little bit or using their arms as a way to convey their shy body language.
Step 2 - Define Their Look
Think of your favourite anime character. Chances are you can immediately think of a pose or gesture they are famous for, and what they are wearing. Anime and manga are such an engaging visual medium because of the way their characters are constructed and brought to life, and yours should be no different! Choose colours that represent your anime character, like red for a fiery fighter or dark purple for a lurid seductress. Then, do some digging online and come up with references for the outfits that they wear. Try to be original, but remember that clothes can be super tricky to draw repeatedly, so if your character is wearing something super ornate, good luck nailing that golden dragon motif time and time again. Luckily, if you're using photoshop or Procreate, ctrl c and v or the duplicate function are your best friends.
Step 3 - Complete their Heads
There are a few ways you can successfully draw an anime-esque head, but the best would be to sketch up an oval shape, trimming the bottom half to be more of an inverted triangle so that you get that iconic anime chin. Then, divide the face into four quadrants, with the top two quadrants additionally divided into two halves. The nose should straddle the middle line, with the mouth slightly below. The eyes should be in between the middle line and the additional top line, and the eyebrow should rest on that line.
Practice drawing your anime face with different line weights in different places so you nail your character’s personality and attributes. The eyes are the window to the soul, after all!
Step 4 - Hair!
What would Inuyasha be without his silver mane? Goku without his crazy… whatever that is. Drawing your anime character’s hair is an essential step to conveying what and who they are. Take a look at some of the most popular anime character’s out there and you’ll see that ALL of them have super iconic hair-dos. So take care, plan accordingly and make your anime character’s hair iconic.
Step 5 - Line work and additional details!
Keep on keeping on! By now you should be ready to move onto the final linework and smaller details. Adding extra details can round out your anime character and help them look fresh and exciting. Maybe your character’s fringe is covering one eye, or maybe the sashes that tie their kimono together are tattered and frayed. Hone in on the little things that will make your character unique and interesting, but try to keep these steps to the end so you don’t skimp on the actual construction and design. Multiple layers help you to use the liquify or warping tool on organic elements without affecting geometric elements you might want to keep more straight-lined.
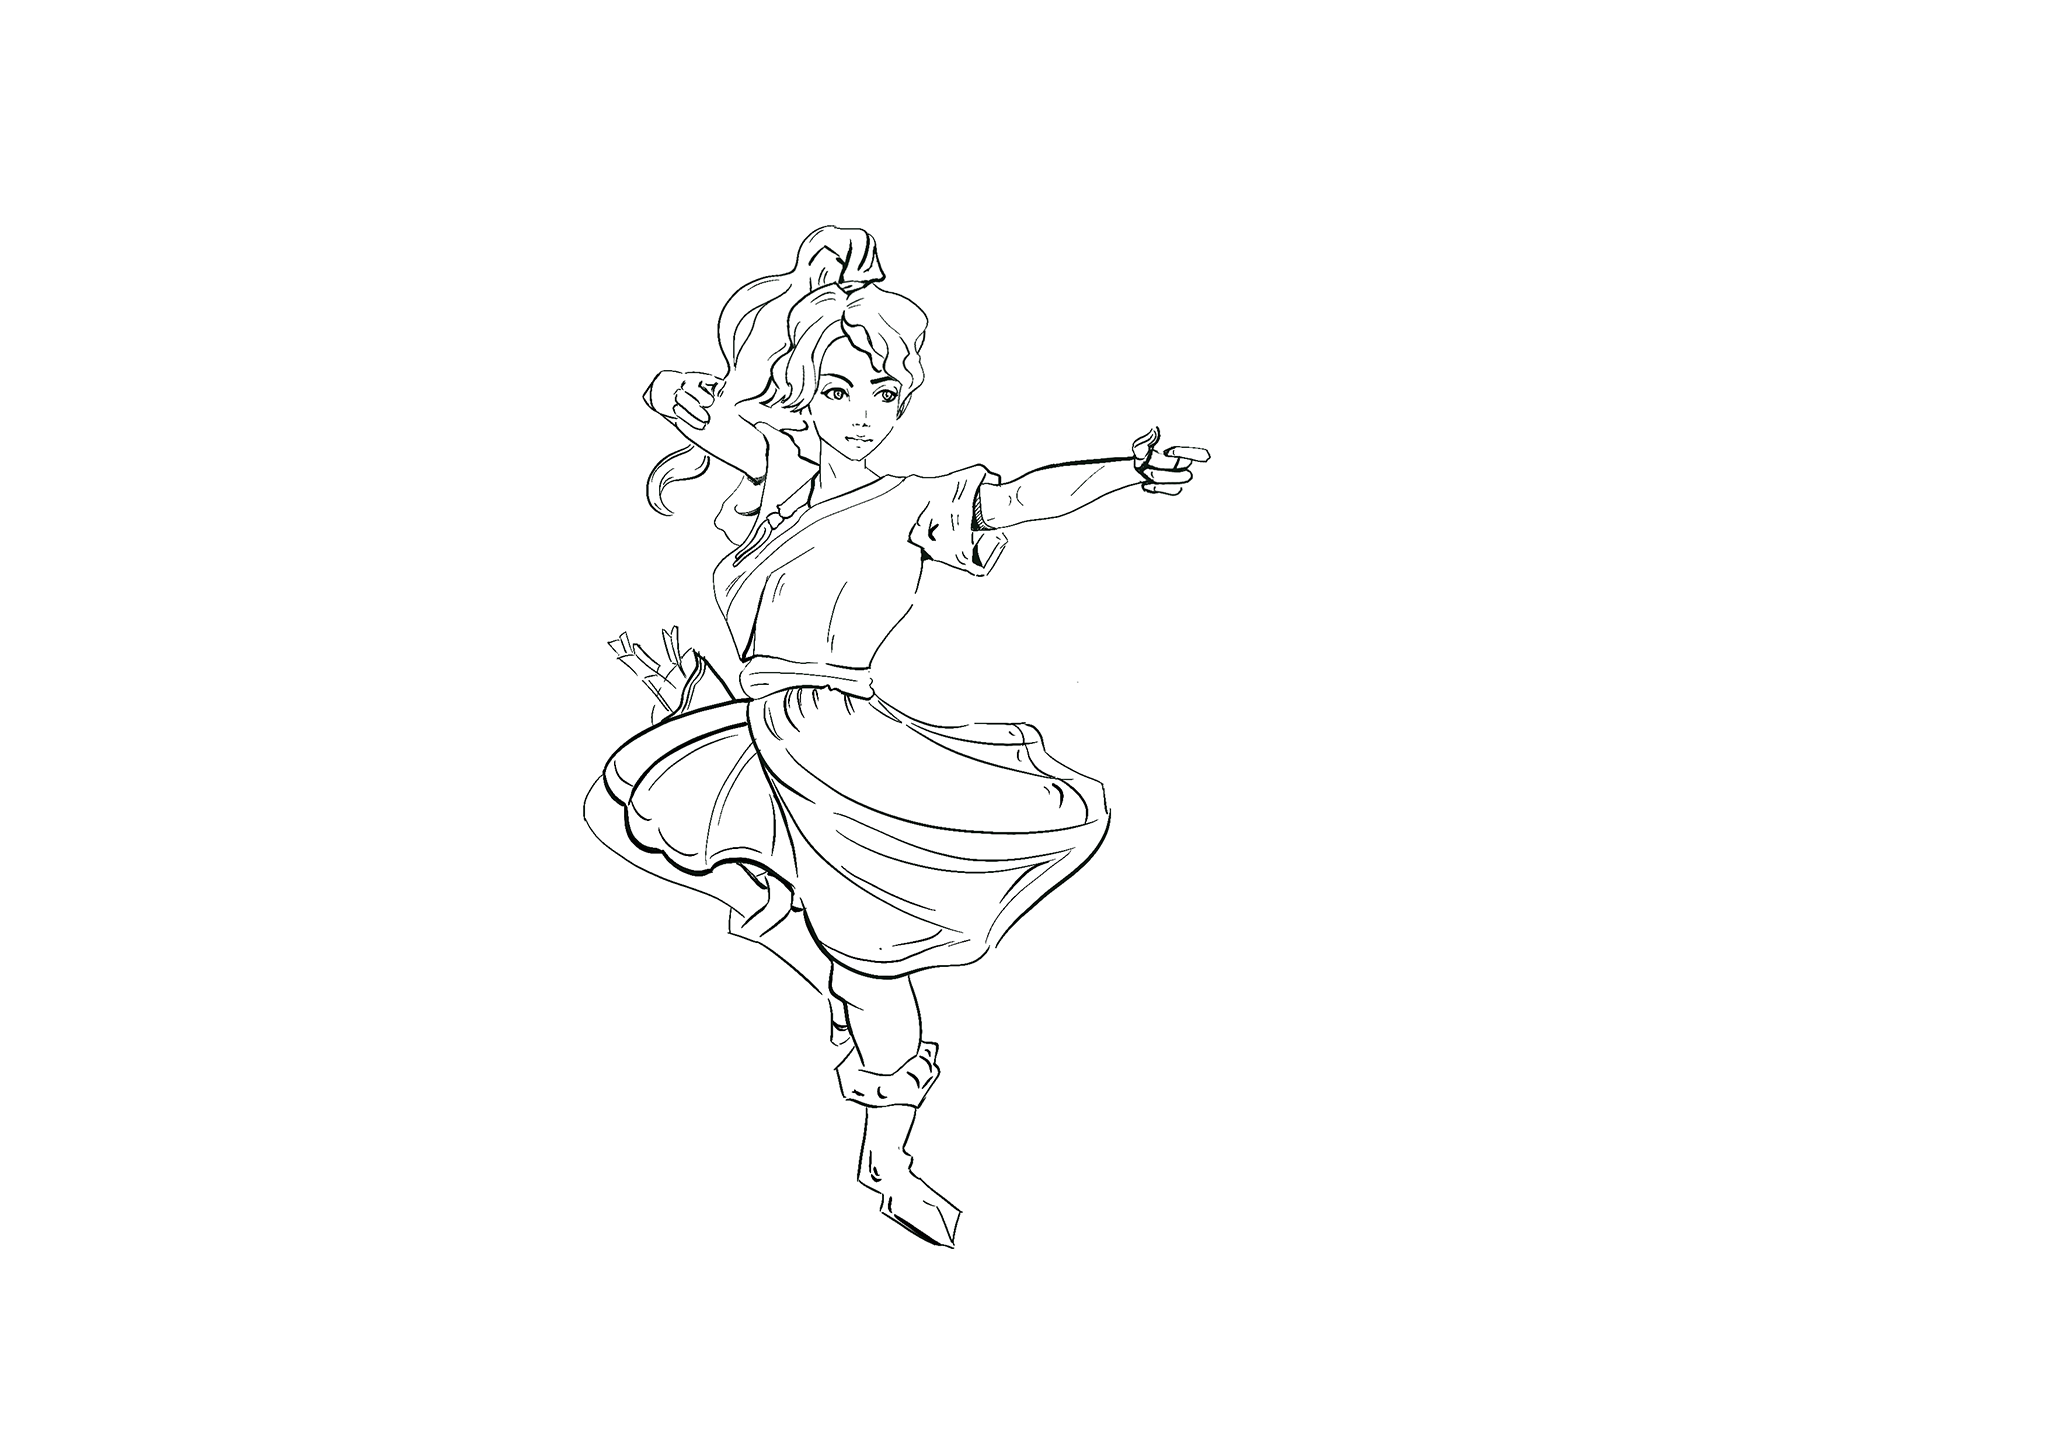
Step 6 - Draw the thicker outlines
If you’ve ever watched an anime or read a manga chances are you’ll have noticed some pretty nifty linework. Anime artists often use an under sketch to establish the perspective and pose, but the final outlines will be the third or fourth iteration from the first sketch. Take care to make lines defined and sharp so that you can nail that angular look that we all love. Don’t be scared to use loads of guide and construction lines to ensure your anime character’s overall shape and stance is perfectly articulated by your linework.

If you enjoyed this tutorial share your finished creation with us on Instagram!